Monday, February 6, 2017

Catalina 22 Swing Keel Restoration - Part 3: Clean-Up


The keel needs to be striped down to bare metal before welded repairs can be made. That means all the ablative bottom paint must be removed. All the sealer paint also has to go. Those are the easy layers, beneath them is the fairing compound or body filler. It is difficult to remove but the worst is beneath it. The corrosion itself is the worst. Some iron oxides are even harder than steel, so removing them can be very difficult.


If you are striping a keel, and you are considering using sand paper to remove the filler, even on an electric or pneumatic sander. DON'T. It'll work. Eventually. But only after filling many, many sheets of paper. And it's Very Slow.

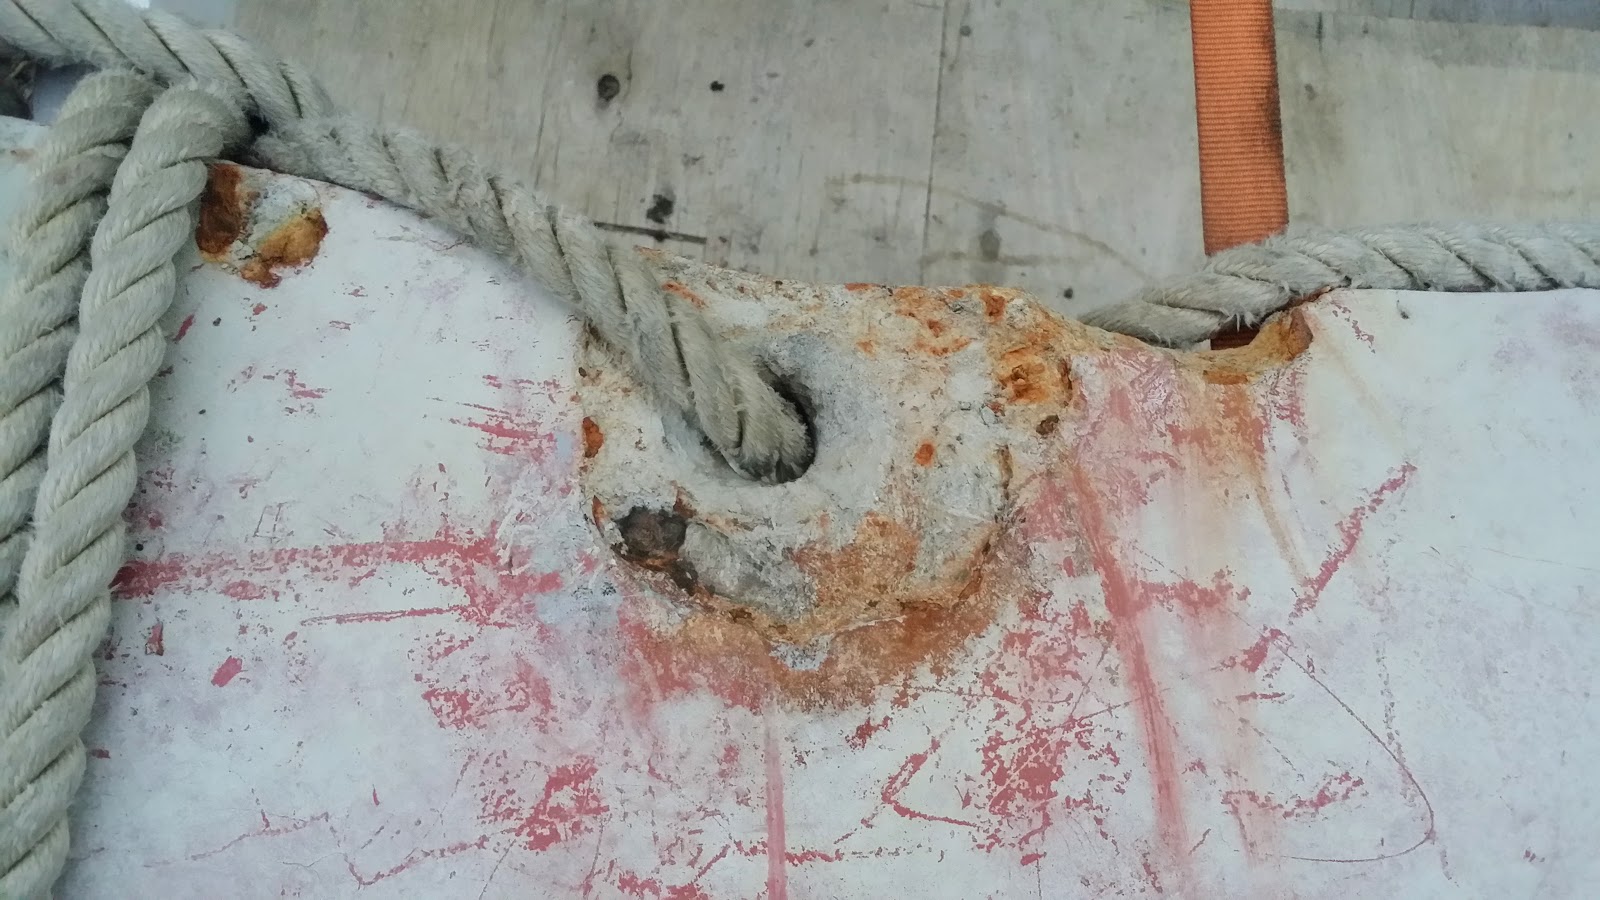
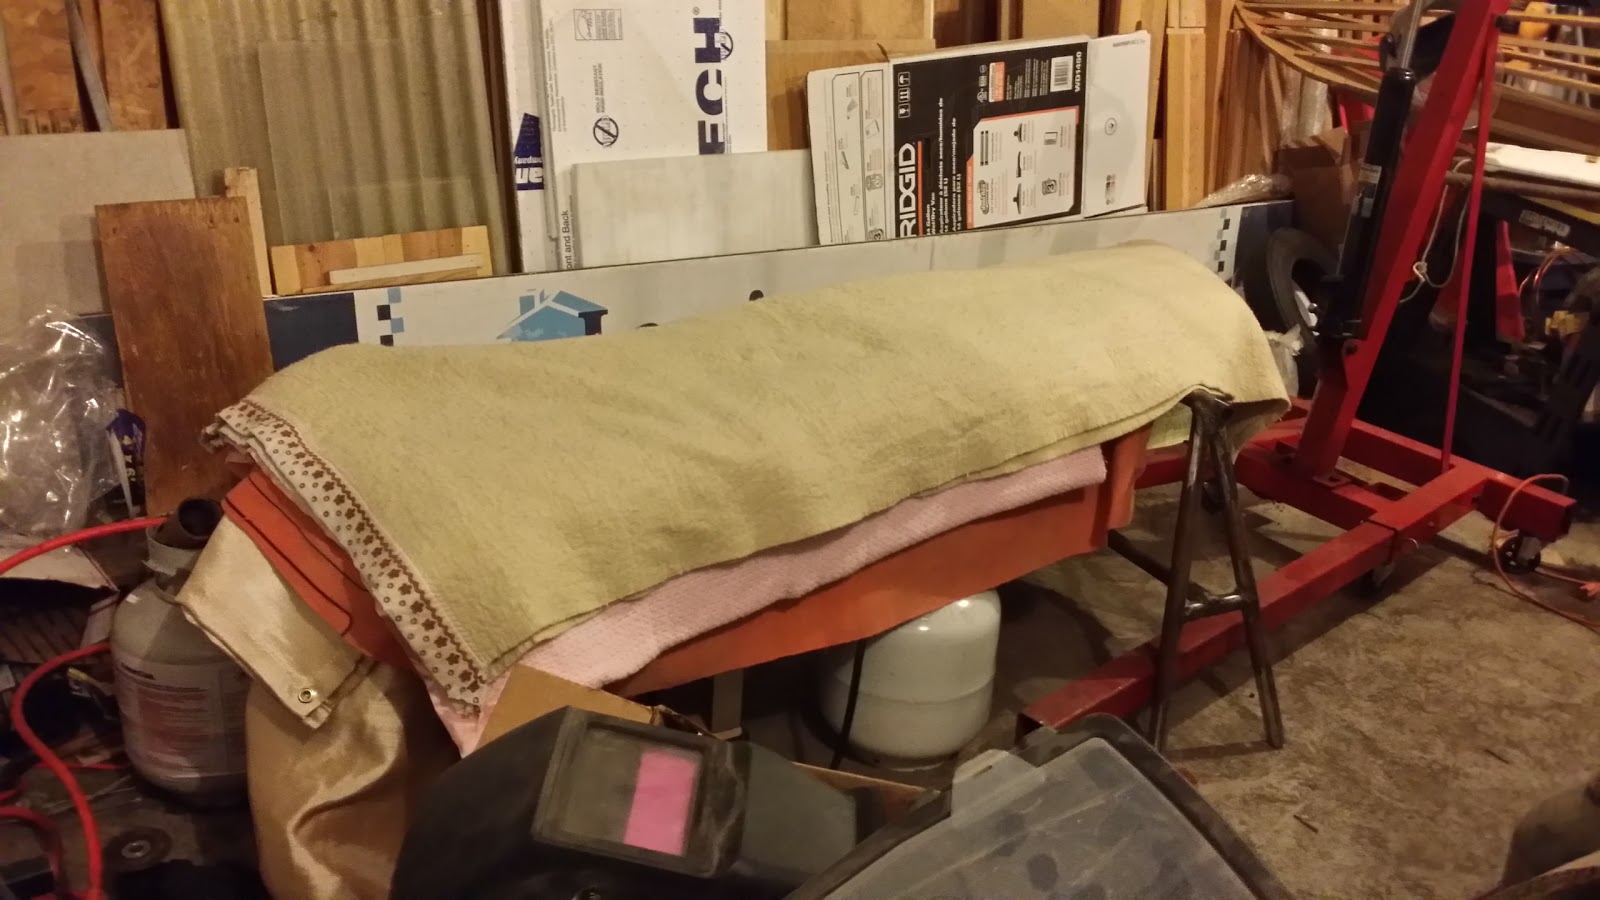
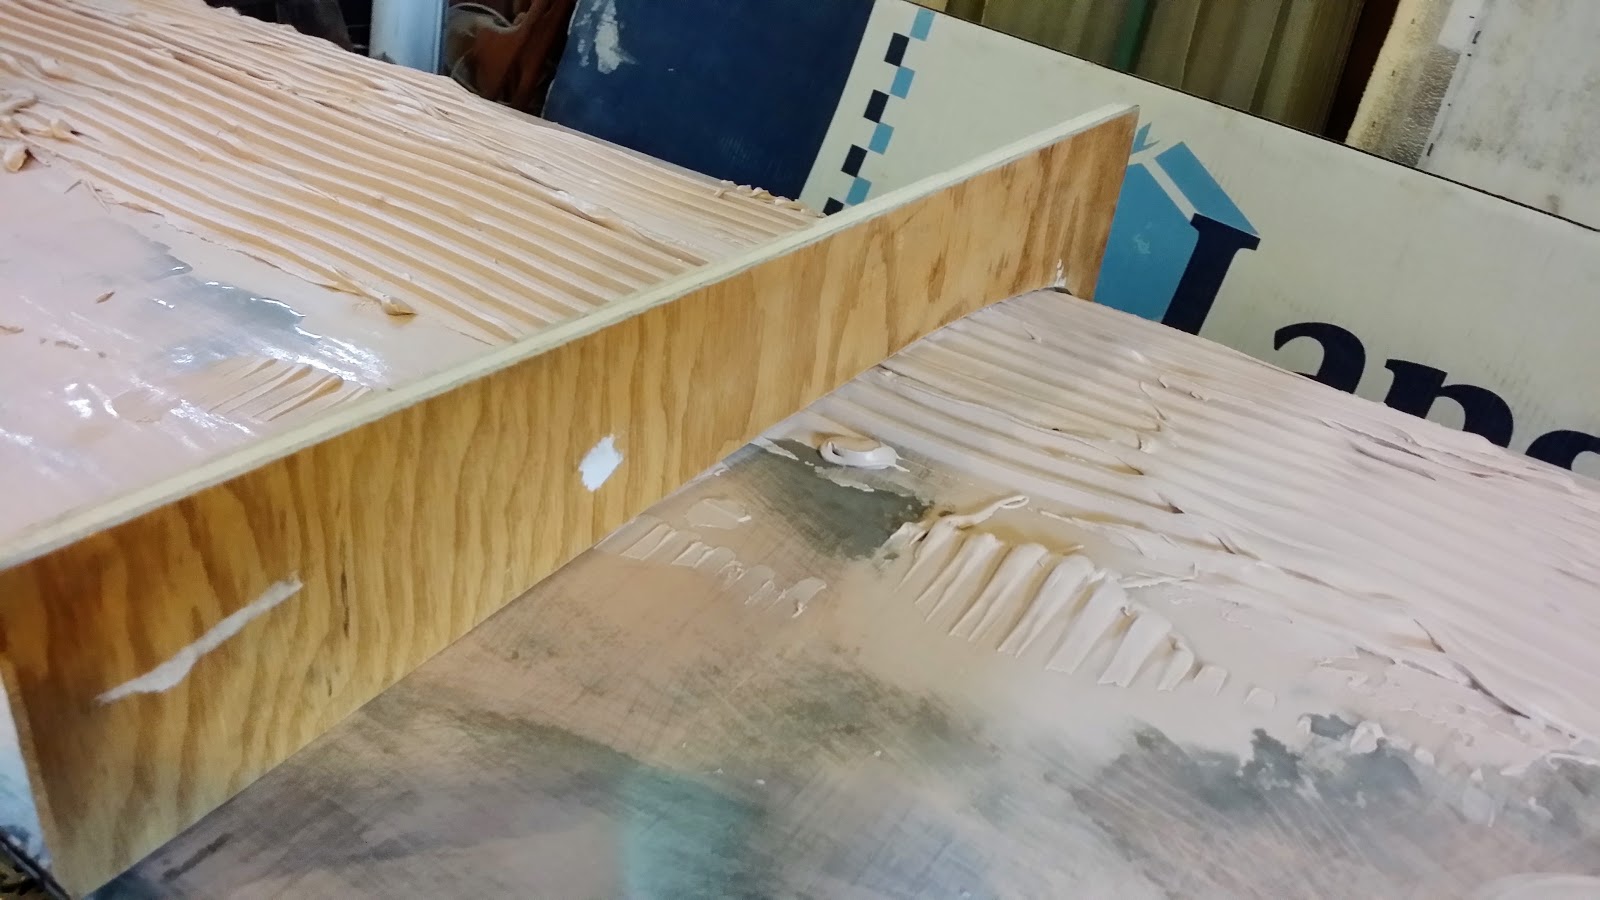
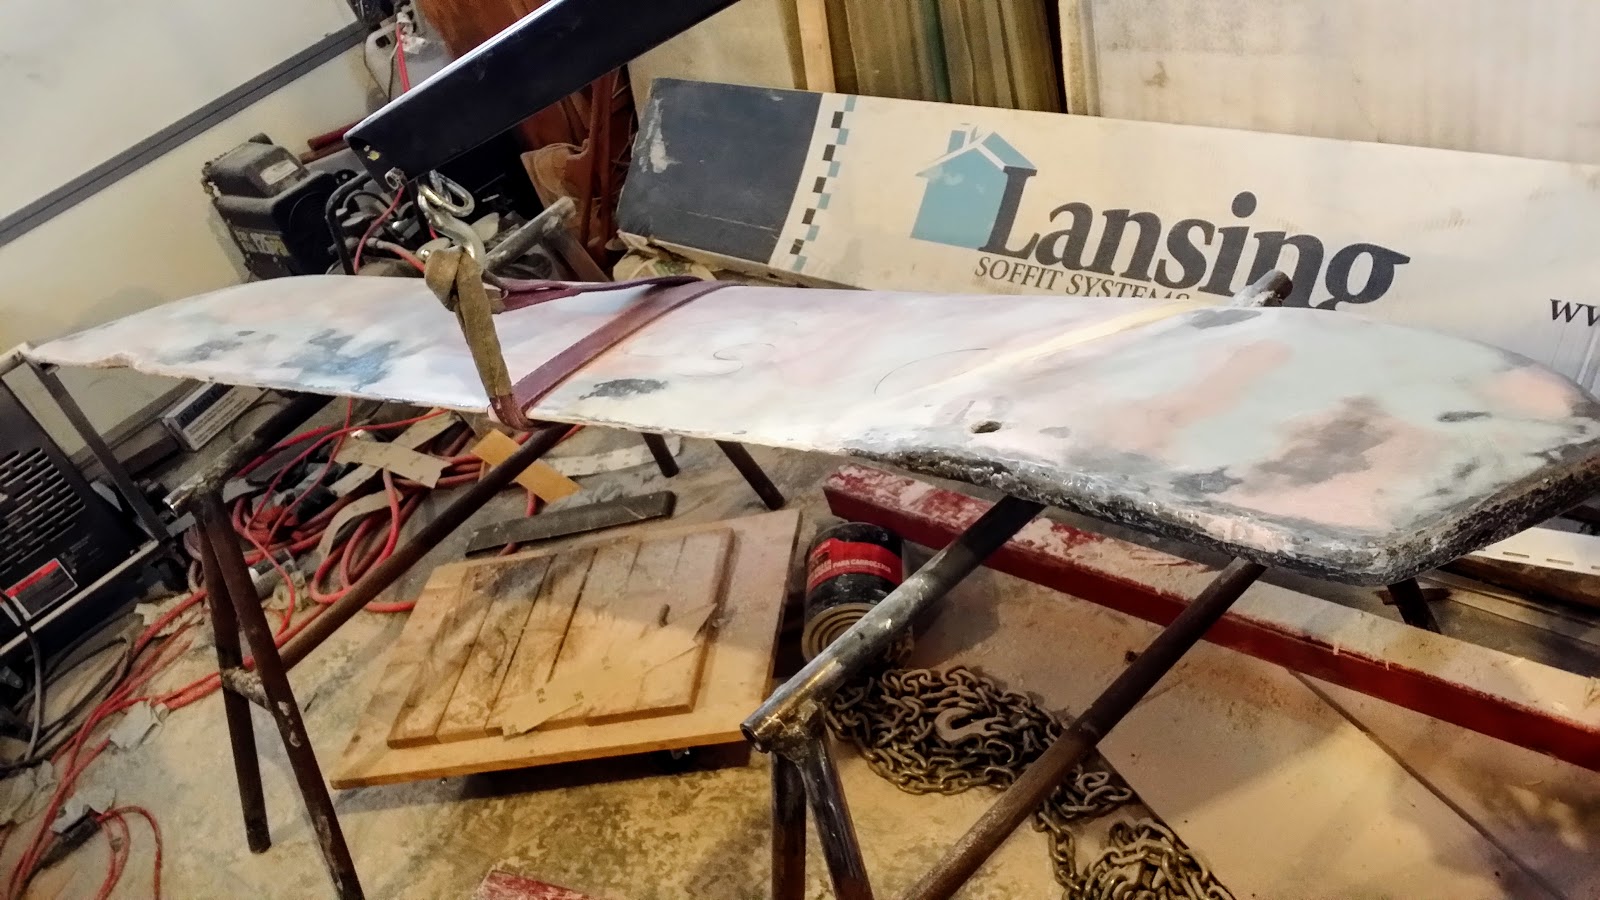
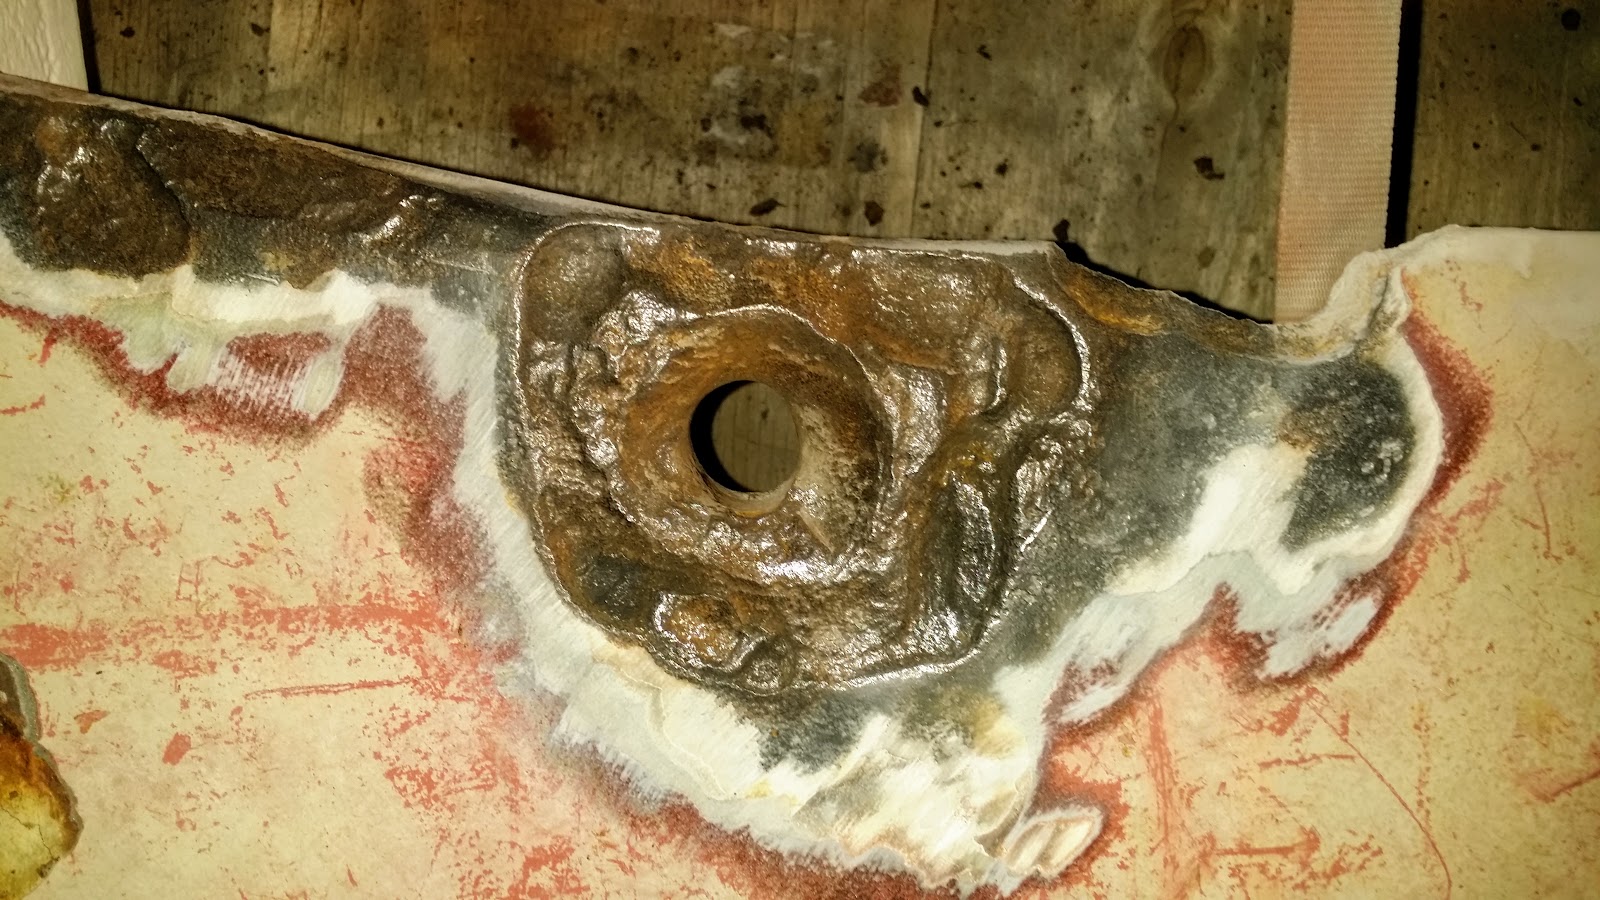
Looking closely at the top picture on the page, and the picture immediately above this paragraph you can see the results of wire brushing the filler. With a knotted wire wheel on an angle grinder the filler flies off in big clouds of nastyness. It's faster than sanding but even messier. In this case faster is relative. It's still not very fast.


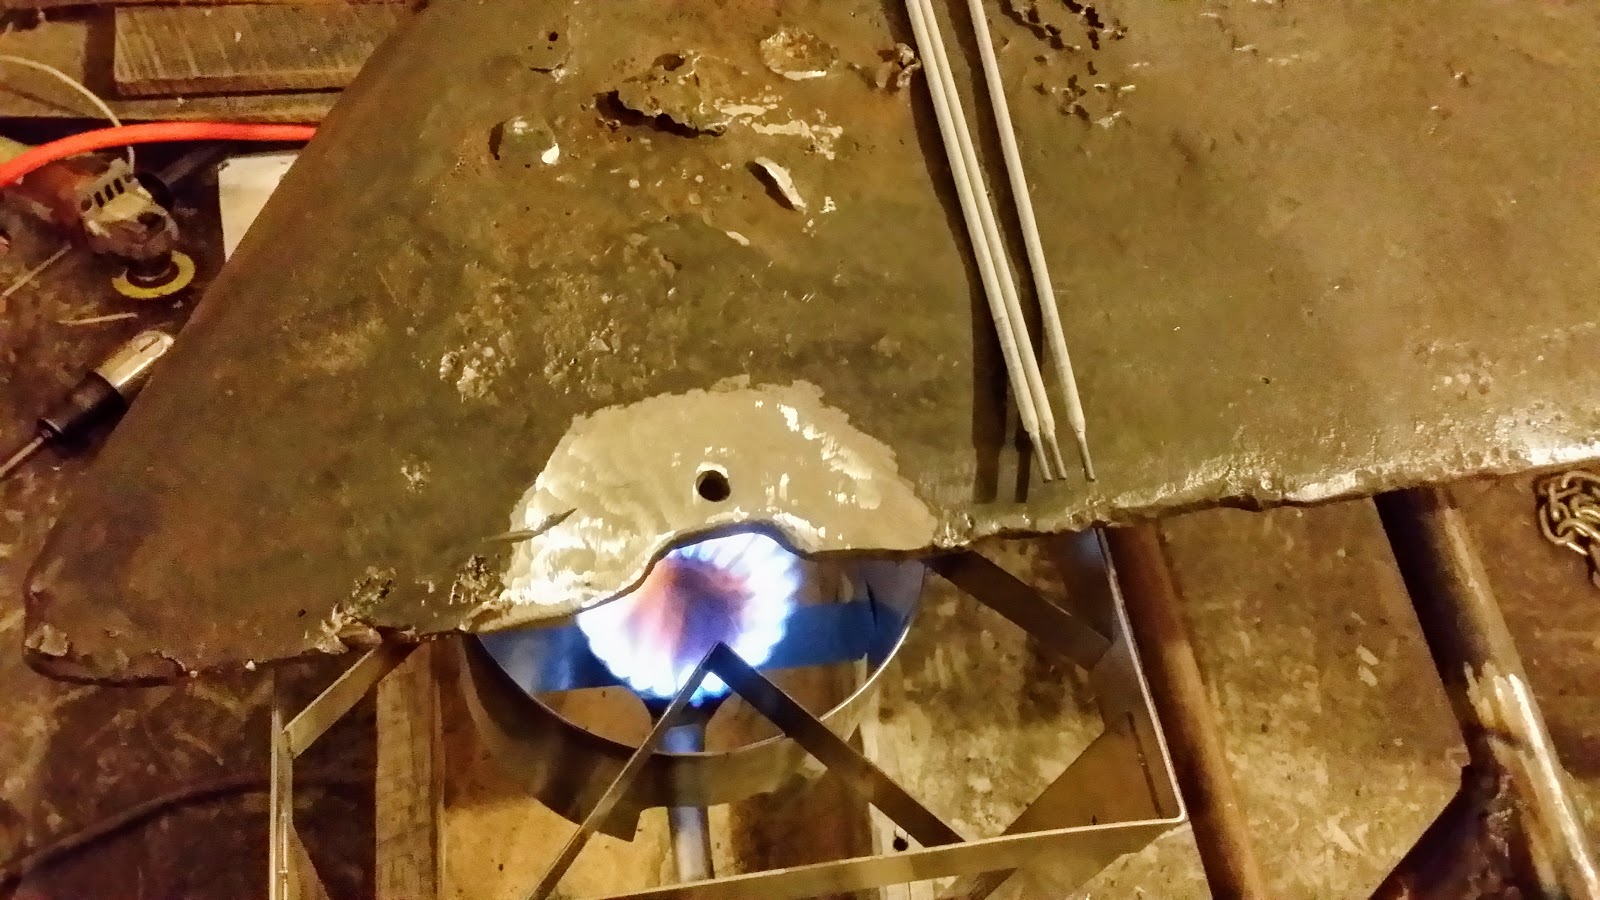
What worked fastest was hammer and chisel. As in this picture, where it was already bubbling up from corrosion beneath, I could remove large chunks quickly (yes still relative, but truely quickly.)


When it wouldn't come up in large chunks, I'd start taking it off in smaller and smaller chunks. If you find yourself in a similar situation, drop me a line (post a comment) and I'll share more details on technique, but honestly, try to avoid it if you can.

Once the filler was removed, or at least most of it was removed, it was on to removing the corrosion.

I considered trying electrolysis to remove the rust, but I found myself daunted at the idea of trying to form, then electrify a bathtub sized body of water, without actually spending enough to buy a plastic livestock watering tub. In hindsight, that may have been a good way to go about it.


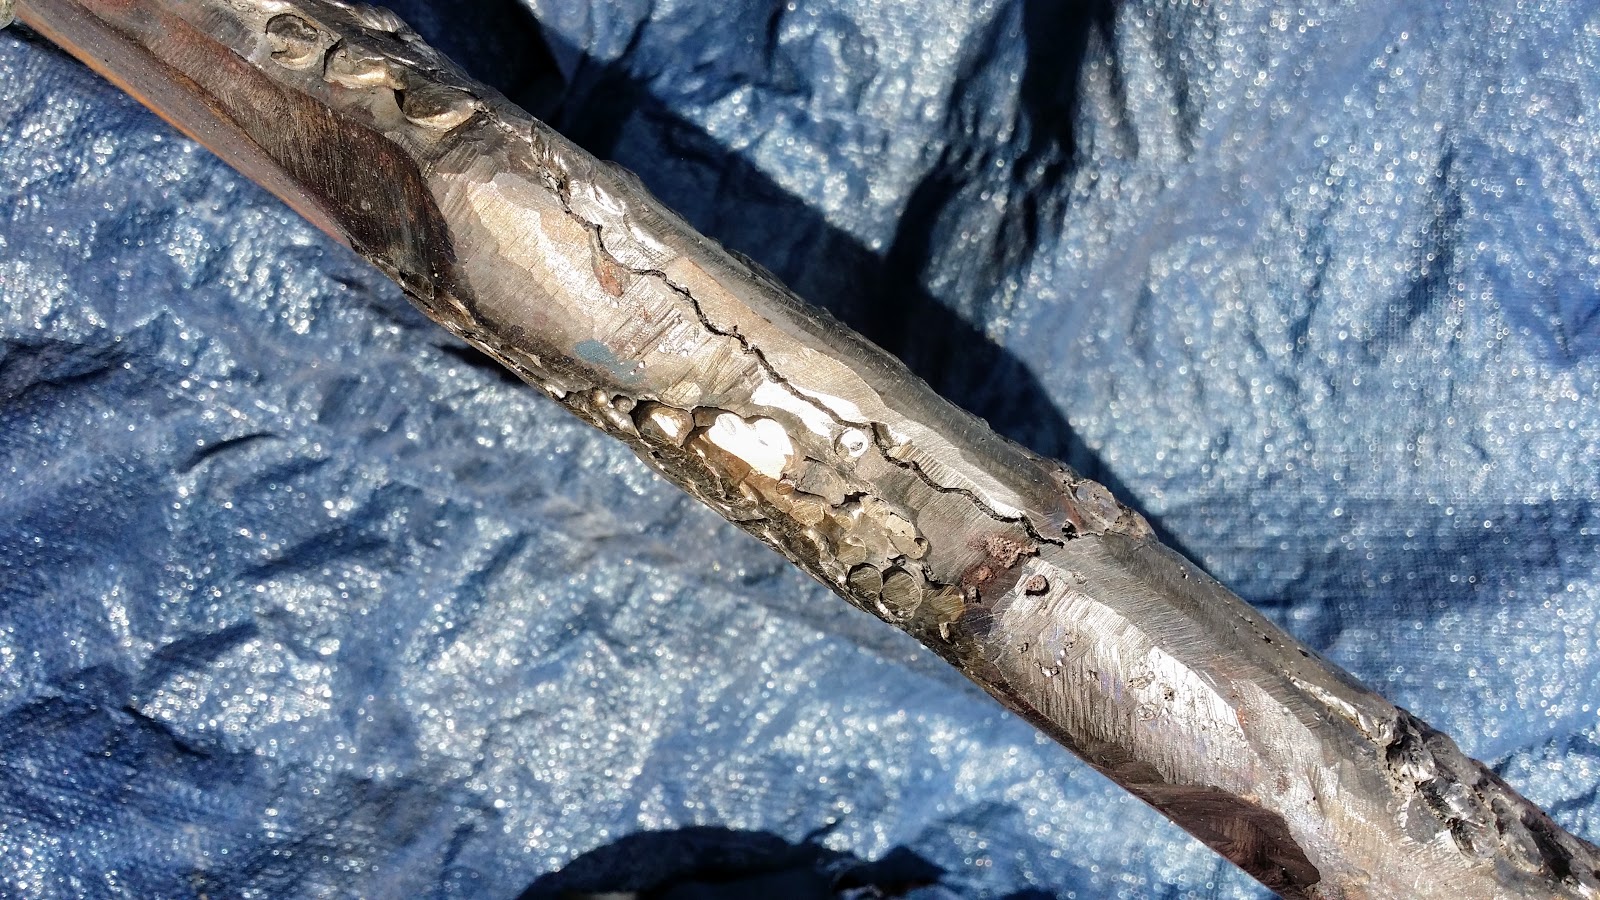
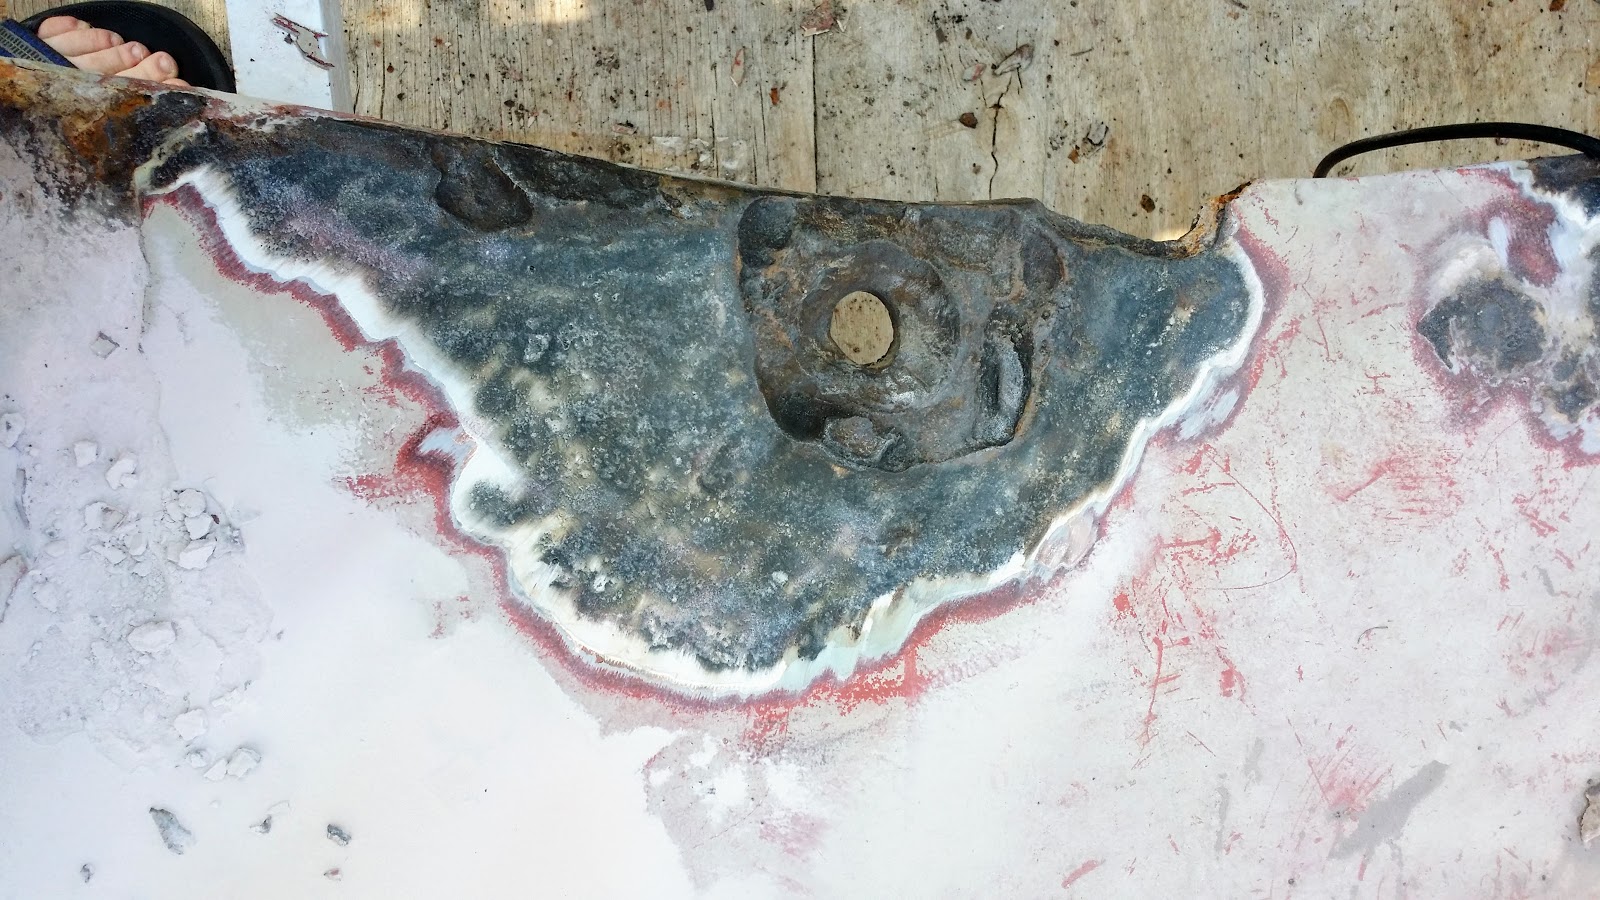
Remember that picture at the top of this post. Here are two more, showing the same thing I want to point out. See how shiny the metal parts are? That's polished with a knotted wire wheel, or knotted wire cup, on an angle grinder. It polished up nicely, too bad it's still a layer of black iron oxide, and not bare metal.

I also tried an inexpensive Harbor Freight sand blaster, it didn't do much. I'm not sure if the problem with insufficient air volume or pressure, or the wrong media, or a non-functional product or user error. I suspect the first two issues.

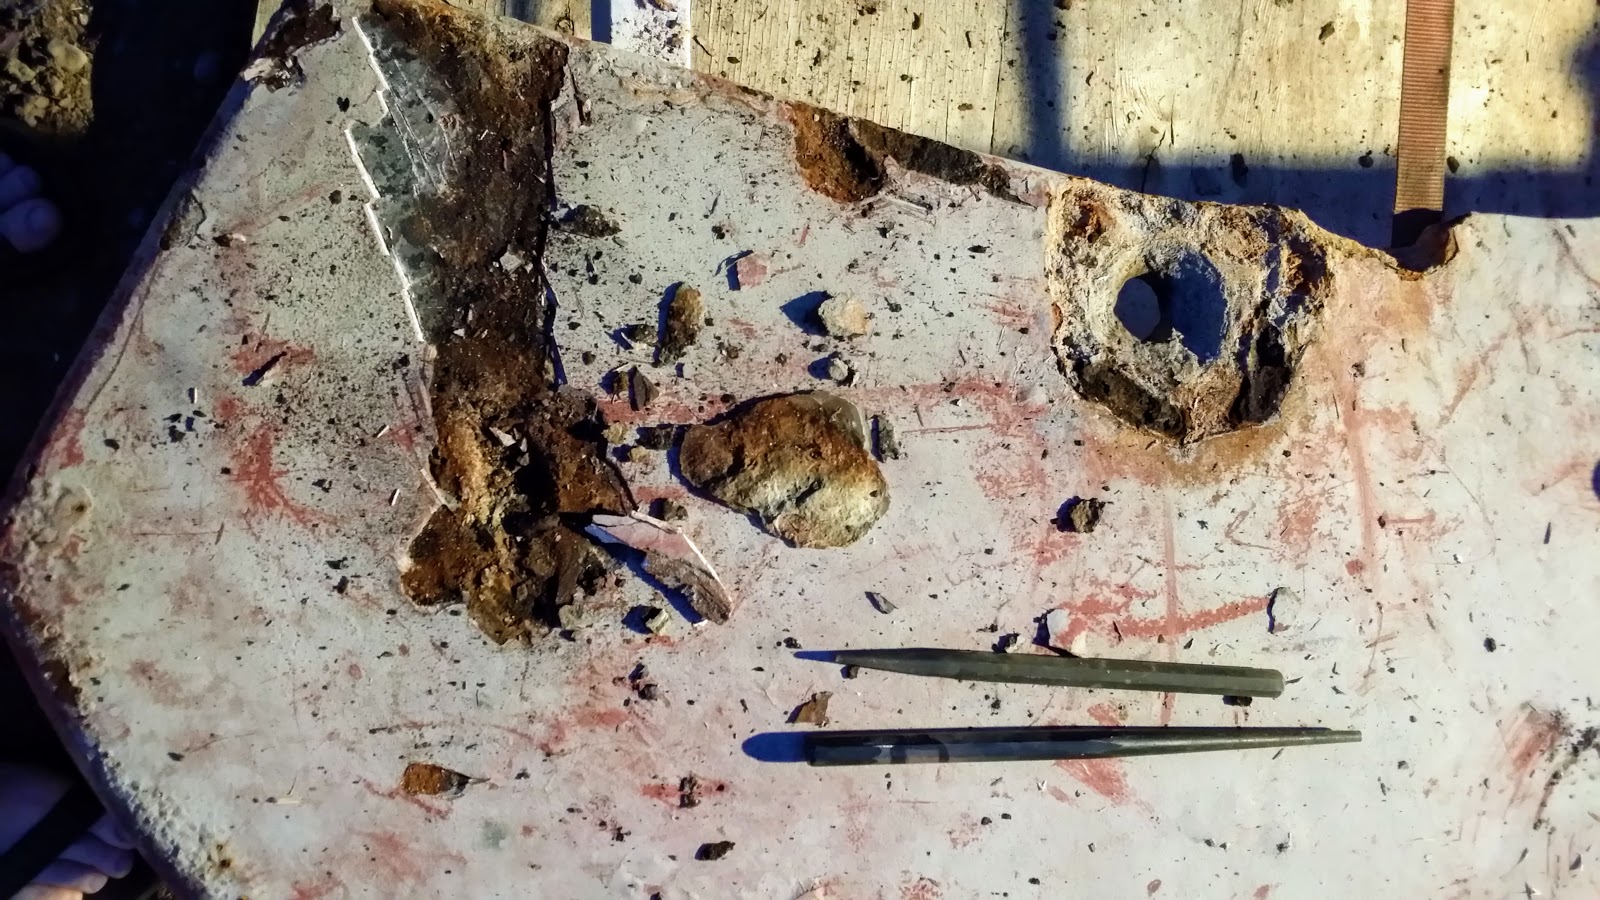
For areas like the holes in the picture at the right a hammer and chisel, those trusty friends, did pretty well, at least at getting the majority of the rust out.

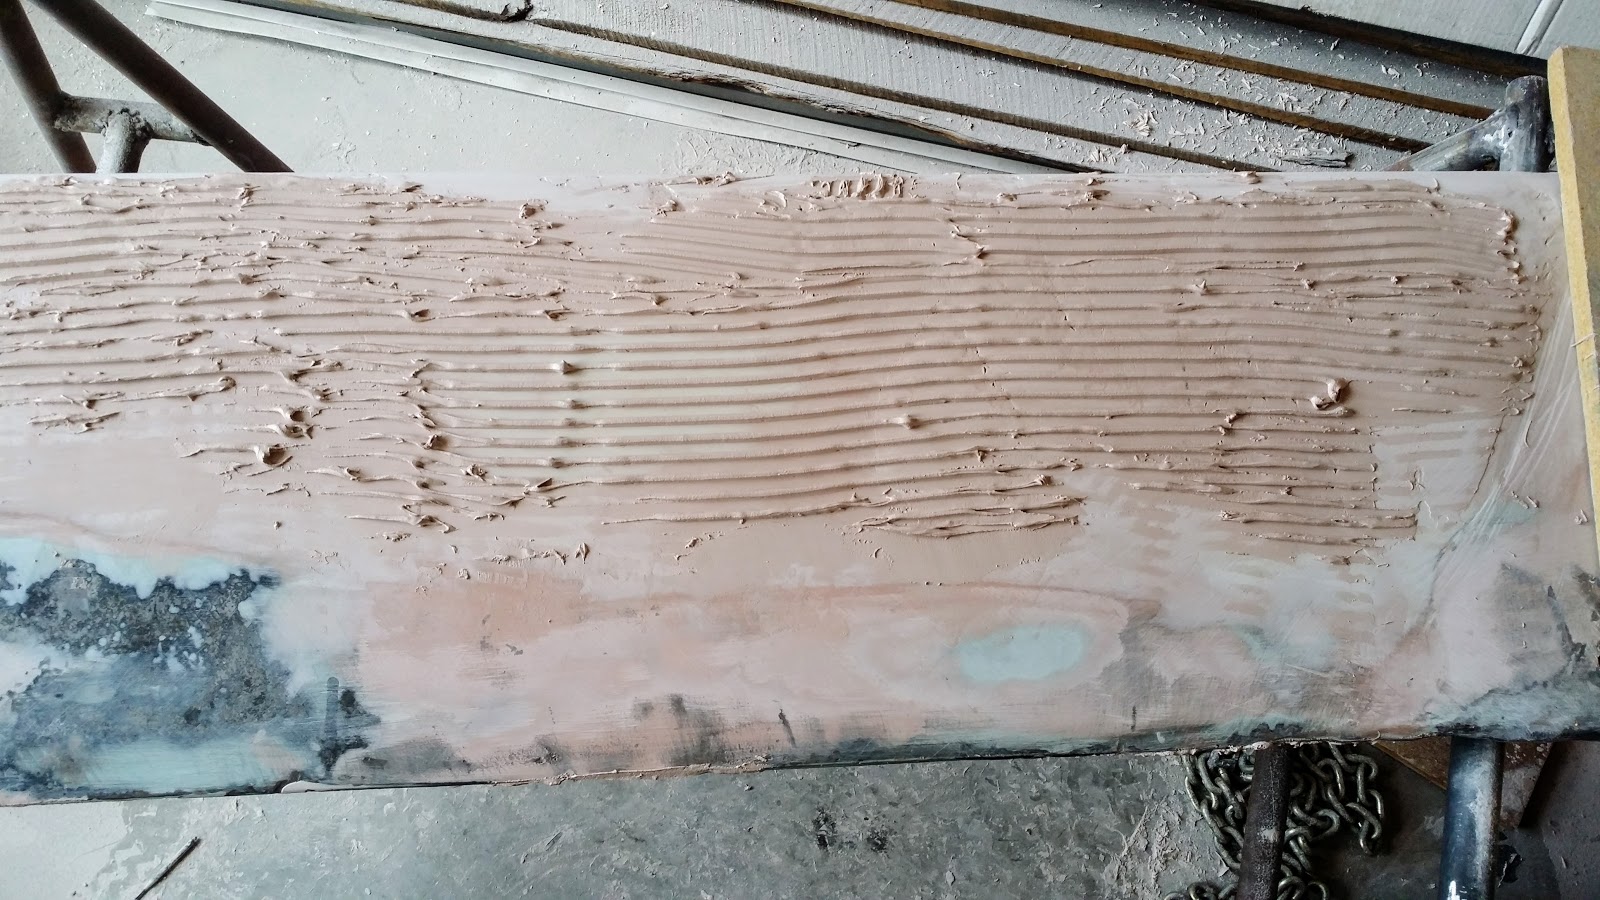
What I found to work best, at getting down to bare metal was 36 grit flap sanding discs like this:

The problem with them is that they are expensive, for how long, or short they last. So I also tried regular grinding discs, which lasted longer, and for some places worked as well or even better, but for the most part, they weren't as effective as the sanding discs, and were much more difficult to get a smooth, even finish.

If, or when, I do this sort of project again, I'll budget in the cost of having a commercial sandblasting shop strip it of all paint, filler and corrosion. They should be able to do it in an hour or two, that'll be at least 10 times faster than this one took me.

Thursday, January 26, 2017

Pictures from Future Posts from the Kitchen

I've been working on some posts, but none are ready and I haven't posted anything all week, so here are some teaser pictures.


Thursday, January 19, 2017

Catalina 22 Swing Keel Restoration - Part 2: Archeology and Beginning Clean-Up

This boat was made the first year Catalina made the model. She's an OLD boat. About as old as I am, and for a boat, that's fairly old. She has had an unknown number of owners with an undocumented repair and maintenance history. So any project begins with some naval archeology, to see what has or hasn't been done to this particular part of the boat in the past.


After dropping the keel out from under her it became apparent that work had been done in the past. Further examination showed that someone had attempted to use fiberglass and resin to repair the corroded pivot hole in the keel.

Please take a moment and think back to your junior high science class and recall Mohs scale of mineral hardness. At least, that's when I learned if it, from Mr. Richter. He also had us demonstrate erosion by putting some chunks of limestone in an empty milk jug, with some water, then shaking it while listening to In-A-Gadda-Da-Vida by Iron Butterfly. But I digress.

We are dealing with three materials here, cast iron, bronze and glass fiber. I'm ignoring the resin because it is so much softer than everything else involved. At most it forms a binder to hold the fiberglass in place. On Mohs scale which is hardest? Use this table for a reference, in case you don't have it memorized.

1.5 Tin
3 Copper
4 Iron
5.5 Glass

Hardness does not necessarily equate to abrasion resistance, and there are alloys and treatments that will make any of these materials harder or softer, but in this case hardness gives us a reasonable idea of each materials abrasion resistance. I hope you've spotted the problem. Attempting to shim the pivot hole wear with fiberglass wasn't going to fix it, in fact it made it worse over time, as the fiberglass wore away at both the keel and the pivot pin.

Here are a few pictures of the pivot pin, showing a whole lot of wear and abuse. It's clear that at some times it pivoted in the hanger and wore that way, and at other times the keel wobbled on it, wearing a dent into one portion.


Now, back to that first picture, if a sealer was used on the metal before the fairing compound was applied, it has clearly failed. I don't think one was used. The fairing compound is porous, so it acts like a sponge when it gets wet, and holds water. Water contains dissolved gases, including oxygen, as well as being made up of 1 part oxygen for two parts hydrogen (H2O.) Oxygen and iron  are very attractive to each other, and will gladly combine to form various iron oxides, also known as rust. Depending on how many Fe and O atoms combine to form the iron oxide molecule you will get different forms of iron oxide. The red rusts we see so often have a lot of oxygen and less iron, black iron oxides, like hematite and what I found on the keel, under the fairing compound, have less oxygen and more iron. All of them take more volume than the iron did before it oxidized, that's why you see blisters when rust forms under paint. The same could be seen on the keel.
Along the trailing edge (top of the picture) the corrosion was so bad that the fairing compound and paint had completely cracked off of the keel.

The large chunks were barely hanging on, having been lifted by corrosion beneath them. The cold chisel is working further in, where the corrosion and separation aren't as bad, and the fairing compound is still flexible and intact.
In the blistered areas the iron oxide expanded enough to crack the surface of the fairing compound and the sealer and anti-fouling paint. These were the obvious places to begin removing stuff. I started with a hammer and cold chisel. In the areas with blistering that went quite well and made quick work of the removal.

It didn't continue so easily.

Monday, January 16, 2017

Chickens

From left to right: Oreo, Goldie and (drum roll) Chicken

Chickens.

Three of them.

They've stolen my weekend and won't give it back.

And it was a three day weekend too!

I'm not complaining, not really. (Okay, I am complaining, but only a little.)

Val and I had talked about keeping chickens on several occasions. I always figured it'd be a carefully planned adventure. Friday I came home from work with my own plans of making sourdough starter, and sourdough bread and documenting the process for a blog post I'm working on, and having time for some other fun stuff over the long weekend. Then Valerie told me some neighbors were moving and had offered us their chickens. She had accepted them and wanted to get them on Saturday.

That makes it sound like a straightforward effort. It wasn't. It included getting the wagon running, loading about 120 sq ft of pavers on the trailer, unloading them, building a temporary chicken coop, something about grapes and an arbor and... oh, helping the new guy move into the place our friends had just left. Oh, and some "really good dirt!"


That's the dirt, on the trailer, under the tarps, with the remains of the old hen coop holding the tarps in place. Those are the grape vines, and parts of the trelles toward the front of the trailer.

The dirt is excellent.

Sunday morning Val checked on the chickens and:
Chicken laid an egg! Apparently the other two lay brown eggs, this is how we know this egg is from Chicken. I won't be surprised if it's a week or more before we get any more eggs. As a kid I used to care for a friend's chickens when their family went on vacation, the disruption of having someone different feed them always put them off laying for about a week, as long as the vacation lasted. They'd return home just in time for the hens to start laying again. I expect moving to a new coop will be at least as disruptive as having someone new feed them. So, I expect a wait for more eggs. Plus, it's COLD out there and that'll slow them down laying too.

Here they are in their temporary coop:


Saturday, January 14, 2017

How to Tie a Diamond or Lanyard Knot


Here's a series of photos I took that illustrate how to tie a diamond or lanyard knot.  You may recognize the base of the knot as double carrick bend.


This knot can be tied between two pieces of line, but is more commonly tied on a bight, between the ends of a single line. Above are several tied in lengths of paracord to use as key fobs or zipper pulls.


Cross the free end under the standing end to make a loop.

The other end is drawn under the bight with the free end pointing into the bight. Opposite of the first end.

Now over the first standing end.

Then under the first free end and pointing back toward it's own standing end.

Now over the bight.


Under itself, in the middle of the bight. and over the other end of the bight.

Tidied up it you will see a double carrick bend.

your free and standing ends are opposite each other.

the free end goes under the opposing standing end, continuing the curve in the same direction.


This image may be a bit confusing, the free ends are tucking down the hole in the middle of the knot.


Here the knot has been turned over, so the free ends are coming up through the knot. It's now time to start fairing the knot.


smooth the knot back toward the standing ends and begin snugging it up. I like to shorten the free ends, working the slack back through the knot and into the standing end.


For this example, I did it the other way, working the slack out to the free ends, see how they have gotten longer.

Wednesday, January 11, 2017

Catalina 22 Swing Keel Restoration - Part 1: Removal


I'm not the first person to restore the swing keel on their Catalina 22, and I'm sure I won't be the last either. Someone has done it before you, and in the age of the internet, someone has probably documented it too. I owe a debt of gratitude to those who have gone before and have documented it, their efforts helped me immensely. Specifically I want to thank The $tingy Sailor.  His blog posts on his keel refurbishment project were invaluable.

With that said, let me begin my tail. In the fall of 2014 a very experienced local sailor from Bonneville School of Sailing took a look at the keel on Aura, ULYC's Catalina 22, and pronounced it unsafe to sail. It was fall, the sailing season was over, the project was put on the back burner. The following spring, it was still on the back burner, meaning that boat wouldn't be in the water in 2015, but the loss of use of the boat spurred several of us into action and we came up with a cunning plan.

The keel is held on by two brackets, each bracket is held by two bolts. When Aura is on her trailer, the keel sits on a bunker and isn't supported by the  brackets or by the cable, so, our cunning plan was to remove the bracket bolts, and the cable pin, so that the keel was simply sitting in the trunk and on the trailer, then launch the boat into the water, and retrieve her onto another trailer, leaving the keel on the first trailer, ready to be hauled off for restoration.

I'm sorry to say, I don't have any pictures of the operation, mostly because it went smoothly. We made a web of tie down straps under the keel on the trailer, so that when it fell over it wouldn't fall through the trailer frame and onto the boat ramp. Then, once  it was alone on the trailer, we secured it with a nice length of 1" line and, "Bob's your uncle!"

Here you can see one of the tie down straps and the 1" rope. This first step was successful. If only it were to continue that way.

Monday, January 9, 2017

Catalina 22 Swing Keel Restoration - An Overview


This time last year I was in my shop every night working on rebuilding the swing keel for a Catalina 22 sailboat. The project actually started in July of 2015 with dropping the keel out from underneath the boat and bringing it home.


I took quite a few pictures as well as several hours of video at various points throughout the process. I bought an arc welder and learned a little bit about arc welding. I refreshed my filler putty body work skills. and did a whole lot of grinding.


My take away from the whole effort, USE SACRIFICIAL ANODES! Periodically over the next while I'll post an installment and share what I learned and what I did wrong in that stage of the project.


In the meantime, here are some more pictures from various stages of the project.

 Everything I'd welded on is cracking off...

 Tucked into bed for the night, to let it cool slowly and hopefully prevent more cracks.

 Pre-heating before welding, another effort to prevent cracks.

Fairing.

And more fairing.

And still more fairing.

Turning it over, using an engine crane.

Hanging it back where it belongs.