Wednesday, January 11, 2017

Catalina 22 Swing Keel Restoration - Part 1: Removal


I'm not the first person to restore the swing keel on their Catalina 22, and I'm sure I won't be the last either. Someone has done it before you, and in the age of the internet, someone has probably documented it too. I owe a debt of gratitude to those who have gone before and have documented it, their efforts helped me immensely. Specifically I want to thank The $tingy Sailor.  His blog posts on his keel refurbishment project were invaluable.

With that said, let me begin my tail. In the fall of 2014 a very experienced local sailor from Bonneville School of Sailing took a look at the keel on Aura, ULYC's Catalina 22, and pronounced it unsafe to sail. It was fall, the sailing season was over, the project was put on the back burner. The following spring, it was still on the back burner, meaning that boat wouldn't be in the water in 2015, but the loss of use of the boat spurred several of us into action and we came up with a cunning plan.

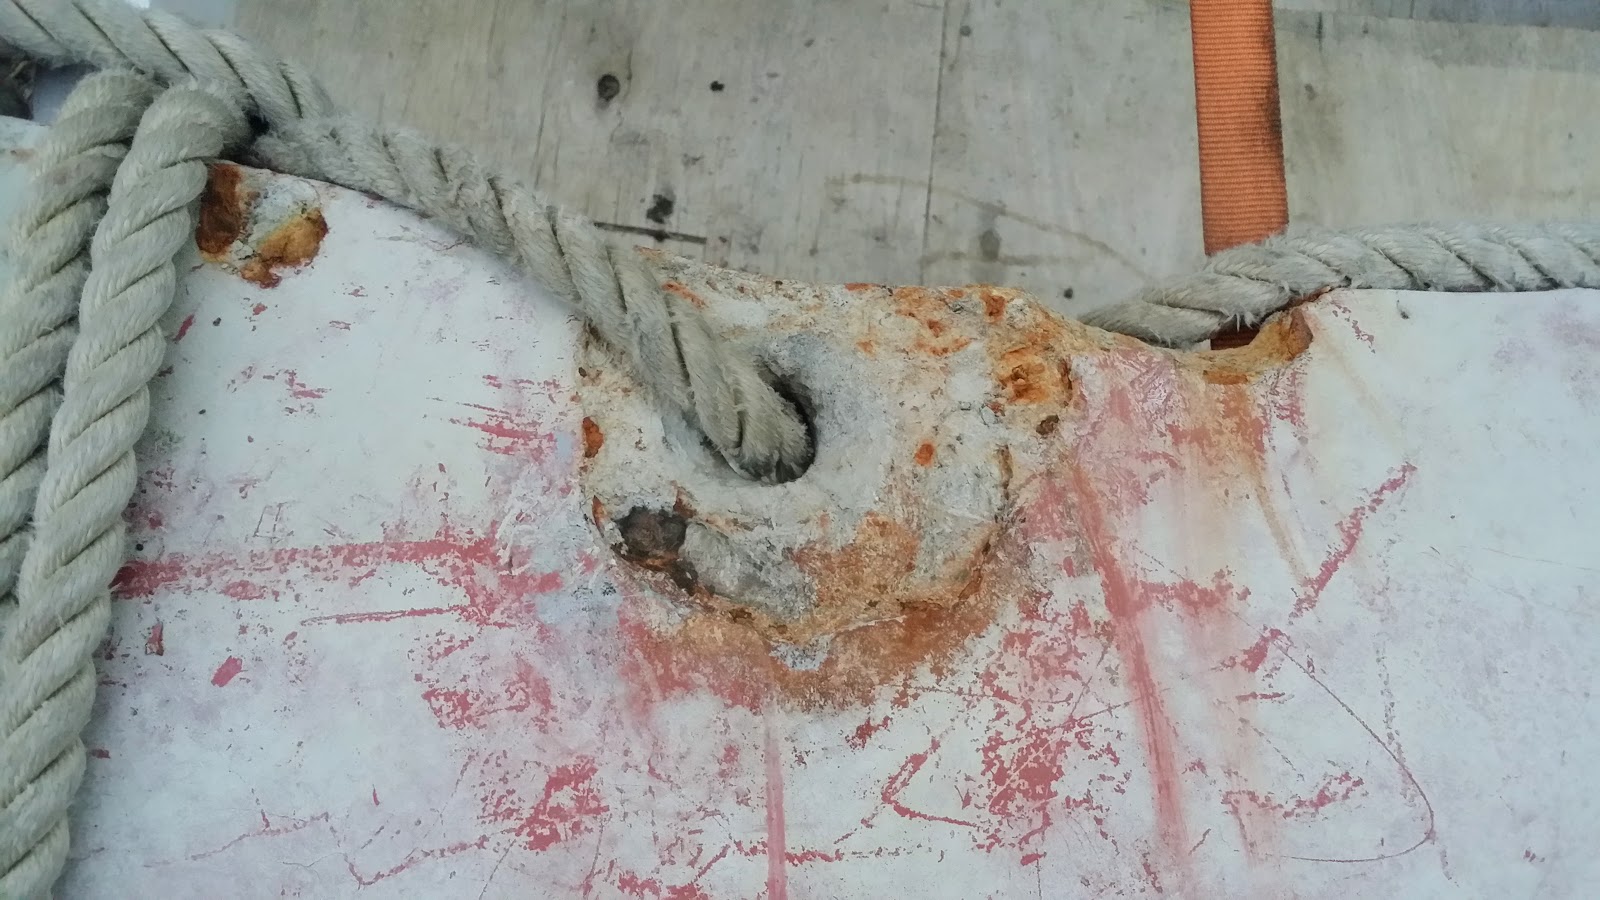
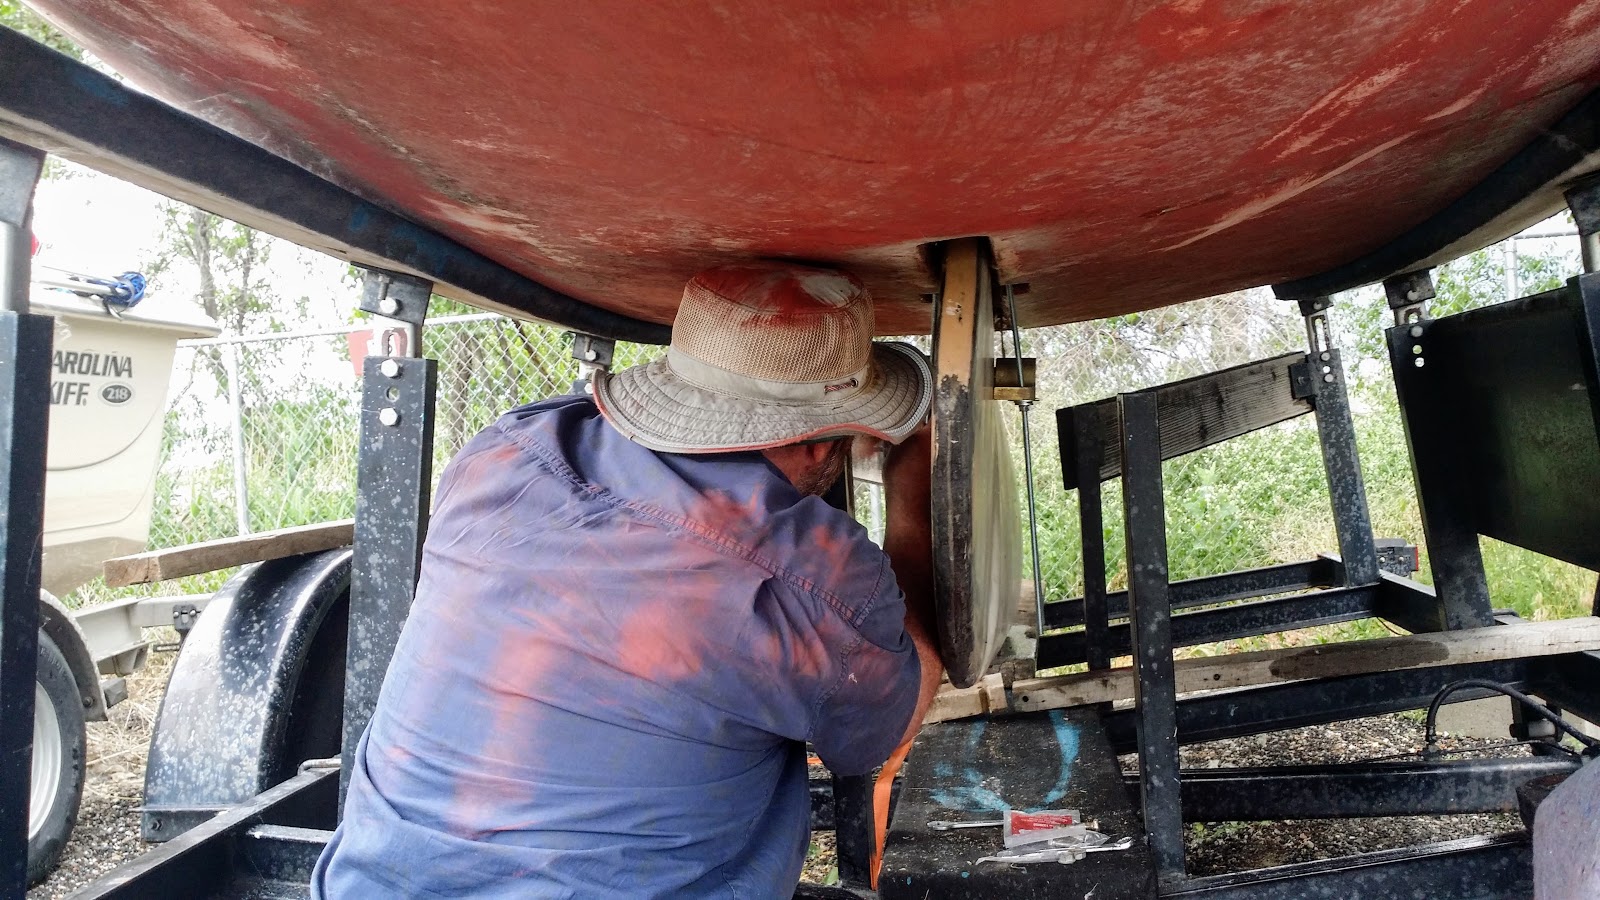
The keel is held on by two brackets, each bracket is held by two bolts. When Aura is on her trailer, the keel sits on a bunker and isn't supported by the  brackets or by the cable, so, our cunning plan was to remove the bracket bolts, and the cable pin, so that the keel was simply sitting in the trunk and on the trailer, then launch the boat into the water, and retrieve her onto another trailer, leaving the keel on the first trailer, ready to be hauled off for restoration.

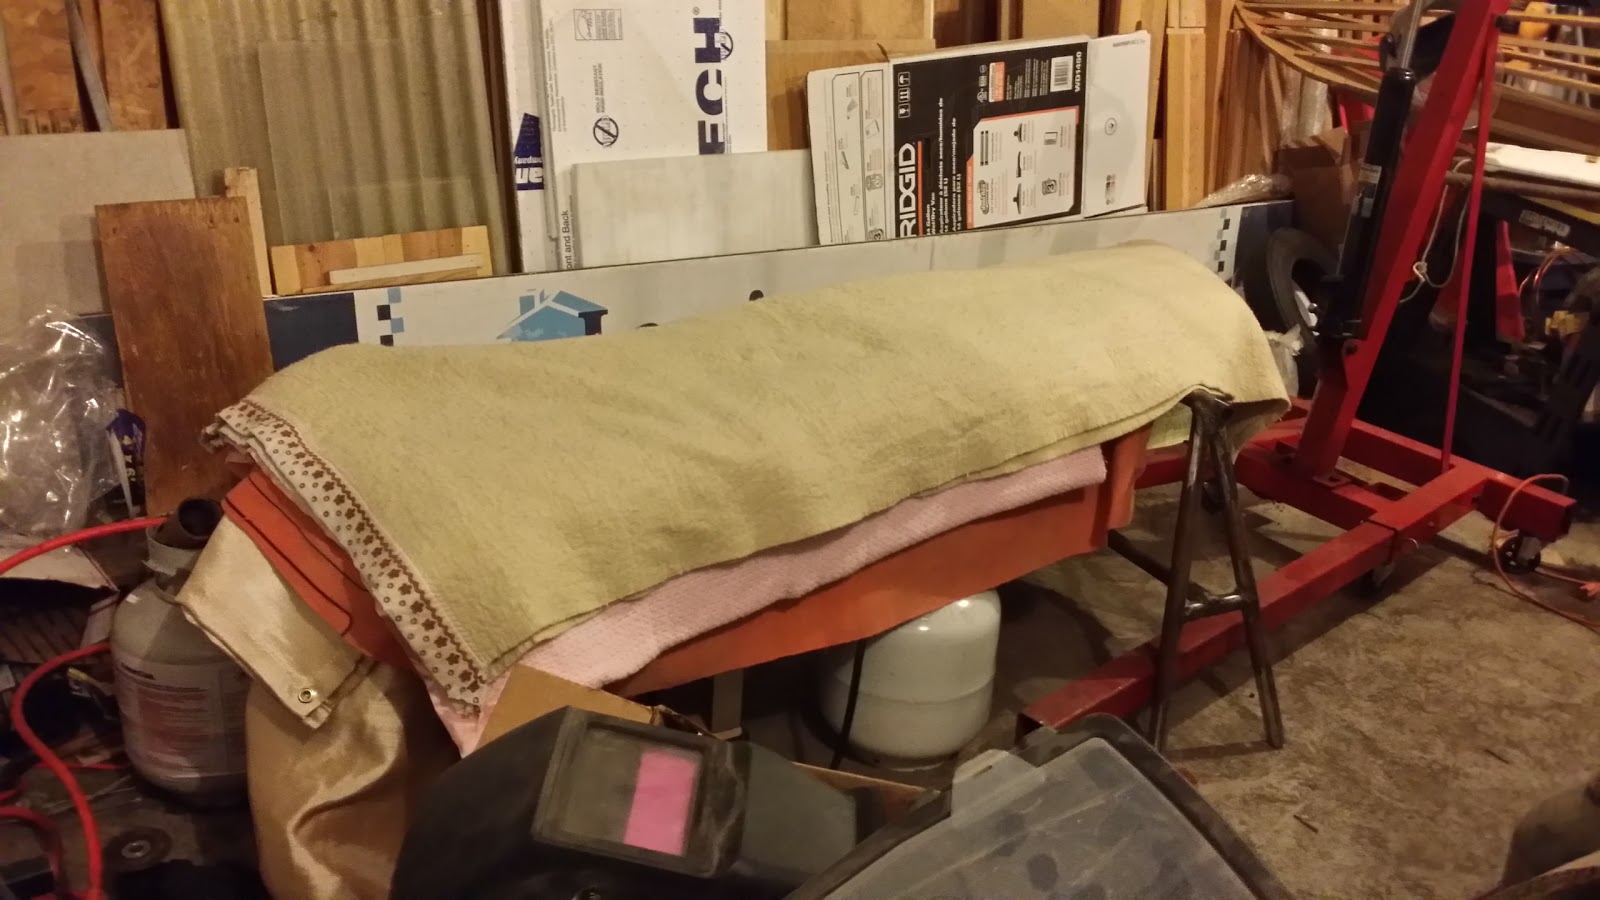
I'm sorry to say, I don't have any pictures of the operation, mostly because it went smoothly. We made a web of tie down straps under the keel on the trailer, so that when it fell over it wouldn't fall through the trailer frame and onto the boat ramp. Then, once  it was alone on the trailer, we secured it with a nice length of 1" line and, "Bob's your uncle!"

Here you can see one of the tie down straps and the 1" rope. This first step was successful. If only it were to continue that way.

Monday, January 9, 2017

Catalina 22 Swing Keel Restoration - An Overview


This time last year I was in my shop every night working on rebuilding the swing keel for a Catalina 22 sailboat. The project actually started in July of 2015 with dropping the keel out from underneath the boat and bringing it home.


I took quite a few pictures as well as several hours of video at various points throughout the process. I bought an arc welder and learned a little bit about arc welding. I refreshed my filler putty body work skills. and did a whole lot of grinding.


My take away from the whole effort, USE SACRIFICIAL ANODES! Periodically over the next while I'll post an installment and share what I learned and what I did wrong in that stage of the project.


In the meantime, here are some more pictures from various stages of the project.

 Everything I'd welded on is cracking off...

 Tucked into bed for the night, to let it cool slowly and hopefully prevent more cracks.

 Pre-heating before welding, another effort to prevent cracks.

Fairing.

And more fairing.

And still more fairing.

Turning it over, using an engine crane.

Hanging it back where it belongs.

Thursday, January 5, 2017

Snow & Ice


I was out at Utah Lake State Park on Saturday and took the opportunity to enjoy some winter water. The above picture shows piles of snow and ice, I'm not sure if it is wind blown ice or if someone brought out a plow of some sort, but the piles were taller than I am.


I've spend a lot of time out at the lake, during the summer, over the last few years, sailing with Utah Lake Yacht Club and with SSS Neptune - Ship 1000 but it's rather different when it's frozen over. Instead of sailing out of the harbor, I walked across the mouth of the harbor, on the ice, looking at frozen over holes from people ice fishing.

I even caught some water type Pokemon, only took one pic:

Wednesday, January 4, 2017

Salvaging a Wreck or Making Caramels

I'm getting things a bit out of order here, but I figure that's better than not posting at all.

Back before Christmas I was working on making cherry cordials and thought I'd be thrifty, and give them more cherry flavor, by using ALL of the syrup the cherries came in. This isn't a totally bad idea, but it's success is dependant on what that syrup is made of. Specifically how much of the sugar in the syrup is sucrose, and how much is fructose and or  glucose, AND how much of the original sucrose (if there was any) has been converted into invert sugar (glucose and fructose) by the acid, either natural or added, usually in the form of citric acid to increase tartness. The fondant recipe I was using did not call for invertase but relied on a careful ratio of sucrose to fructose/glucose to get the right... but that's another post. My attempted recipe change left me with a large amount of mixed sugars that had boiled off all their cherry flavor, but still had a red color.
Boiling sugar solution.

Back to caramel. Caramel is not nearly so sensitive to the ratio of sugars, its texture is far more
controlled by the temperature, and thus the moisture, and the ratio of dairy/fat to sugars. So, I decided to make caramel from this large quantity of mixed sugars.

I read a number of recipes with widely varying  ratios of sugar to dairy/fat, some called for it all to be combined at the beginning, others had the sugar and water heated separately from the dairy, some even called for "frozen non-dairy coffee creamer" I'm not sure I've ever seen such a product. I am sure I don't want it in my caramel.


Caramel cooling in a glass baking dish.

I found this article and recipe from Emma Christensen, the reasoning in the article made sense to me
and I liked the ratio (generous dairy) so I did something smart. I made a first batch following the recipe (not using the mixed sugars) and poured it into a generously greased glass 9" square pan. It seemed to work well, but when I checked it in the morning, only the corners had a good consistency, the closer to the center the more grainy it became.

In an effort to salvage this first batch, I added some water, re-heated/melted/boiled it then poured it out on a silicon mat on my counter where it cooled much more quickly and didn't form sugar crystals. But they did reform when I left it on the silicon mat in the oven at low temperature, but that's more of a geology lesson than candy making.

It is worth noting that, while laser thermometers may be good for some things in the kitchen, they are not adequate for making candy. In my experience the readings were between 8 and 10 deg. F lower than shown on my real candy thermometer.


Friday, November 25, 2016


I've always wanted to learn to make chocolates, like the kind you buy at Mrs. See's. So, this fall I started learning.

 First making ganache, which is quite tasty just to eat by the spoonful. Then tempering chocolate, and finally enrobing.

Of course it didn't go so smoothly as all that. I started out working with some "chocolate flavored candy." Don't. Just Don't. Yes, it's easier, you can heat it higher than chocolate, so it flows more easily and still have it set solid at room temperature, and you don't ever need to temper it, but it simply doesn't taste right, nor have the right mouth feel. It can be used to make ganache, but I won't do that again either.

Ganache, when made with 50% cream and 50% chocolate (the ratio I keep seeing recommended as a "good" place to start) is far too soft to be used as centers for hand dipped chocolates. I don't know what ratio I've ended up using; I haven't kept good enough notes. Yet.

Ganache enrobed with improperly tempered (untempered) chocolate may not ever set enough to be able to pick up. I've had some success, forcing tempering or something close, by using a hair dryer to reheat the chocolate. This also encourages "Blooming" of the chocolate, which is rather unsightly, but they still taste good, even if they don't look so good, and the texture is a bit off. They looked bad enough I didn't take any pictures. Sorry.


I've even tried making cherry cordials. Another adventure. I will write posts on all of these things... eventually.

The attempt at cherry cordials resulted in a whole lot of sugar that was supposed to be fondant, but was far closer to taffy (too much corn syrup) so I made caramel:


Friday, January 11, 2013

Egg Nog Custard Pie


I mentioned this creation in a previous post. Here's a picture and the recipe. The hardest part was the crust.

One 8" or 9" pie crust
1 Quart Egg Nog
2 large eggs

Pre-heat oven to 350°
Form pie dough into pie pan and set aside.
Pour egg nog into a mixing bowl, add eggs and mix to completely combine.
Pour egg nog & egg mix into pie shell
Place pie on middle rack and bake for 50 minutes or until center sets.

Thursday, January 10, 2013

Catching Up and Looking Ahead

Here we are, it's a new year. I'd intended to post some over the holidays as I had two weeks off. But I ended up spending that time in the kitchen. I baked off about 20 kg. of flour. I thoroughly enjoyed my vacation.

Main Dishes
I made a quintuple batch cattleman's pie (shepherds pie with ground beef) and froze 3/5th of it. Still have 2/5ths in the freezer. It's an amazing dish in that EVERYONE (including Duncan who is nine and doesn't like ANYTHING) likes it.

Breads
I made loaves and loaves of cinnamon raisin bread. It turned out quite well. I took many loaves around to friends and neighbors.

Using that dough I also made a batch of chocolate sweet rolls. They were all eaten, but I wasn't overly pleased with them.

I made Pain au Chocolate following this recipe: http://www.breadcetera.com/?p=117 they turned out quite well. I want to make them again, or make croissants, and see if I can't do a better job of proofing them and thus get an even better product.

I only made one batch of sourdough and I've decided that my attempts at making sourdough with out any additional yeast is an effort I don't wish to pursue any further. I've since made a couple batches of sourdough including some yeast and I'm much more pleased with the end product.

Brioche au Chocolate, much like the above mentioned effort using raisin bread dough, with somewhat better results. Honestly, I did not make as stiff a dough as all the brioche recipes indicated. I was afraid of burning out my mixer, and I did get it hot enough to smell HOT. I've begun searching for a heavier duty stand mixer.

PIES!
A first attempt at pre-cooking the apple pie filling resulted in nine pints of a most lovely apple butter. I overcooked the bottom of the pot and the apples were still raw at the top so stir, add seasonings and process like apple sauce, then cook further adding sugar and more seasonings as desired. I did loose one pint in water bath processing. :-(

I've been trying to reduce the amount of liquid produced by the apples. That was what lead me to try pre-cooking the filling and resulted in apple butter. I found much better success by tossing the peeled & sliced apples with sugar and letting them drain in a colander, I captured the juice and reduced it, adding it back to the apples when they were put in the pie. This was an improvement, much less boil-over and loss of goodness (and mess to clean up)

My third attempt had the most success, as before I tossed them with the sugar and reduced the liquid that drained off, then I added a cup of raisins. I still had a little boil over, but no puddling in the dish as the pie was eaten; and this with out using any flour or starch as I had used previously. I'm looking forward to trying again. I think my favorite pie has changed from pumpkin custard to apple.